Introduction
Now we have an h1 element rendered, it's possible to use it to display information that depends on the component's properties (props). For that, some concepts will be shown, given that they are essential for app development.
Changing the content rendered on the component
-
In the interface defined in
Countdown.tsx, add a prop calledtargetDate, its type is string. We are, hence, defining a component prop that will be used to initialize the countdown._10// react/Countdown.tsx_10interface CountdownProps {_10+ targetDate: string_10} -
Now, we need to use it on the component, substituting the text used previously,
Countdown Test, for another, using Site Editor.Keep in mind that
targetDatewill be used to define the countdown ending date. However, for now, it will work as a dummy field.First, change the component in order for it to use the
targetDateprop. To do that, you need to use its variable inside theh1of the React component._10// react/Countdown.tsx_10const Countdown: StorefrontFunctionComponent<CountdownProps> = ({_10targetDate,_10}) => {_10return (_10<div>_10<h1>{targetDate}</h1>_10</div>_10)_10} -
Furthermore, to be able to edit this property through Site Editor, it's necessary to add that same prop to the schema. This is done by adding the
targetDatekey to thepropertiesobject of the schema:_14// react/Countdown.tsx_14Countdown.schema = {_14title: 'editor.countdown.title',_14description: 'editor.countdown.description',_14type: 'object',_14properties: {_14+ targetDate: {_14+ title: 'Final date',_14+ description: 'Final date used in the countdown',_14+ type: 'string',_14+ default: null,_14+ },_14},_14}
All set! Now you can change the text content through Site Editor.
You can go to the Site Editor by accessing the following link:
{yourWorkspace}--appliancetheme.myvtex.com/admin/cms/site-editor.
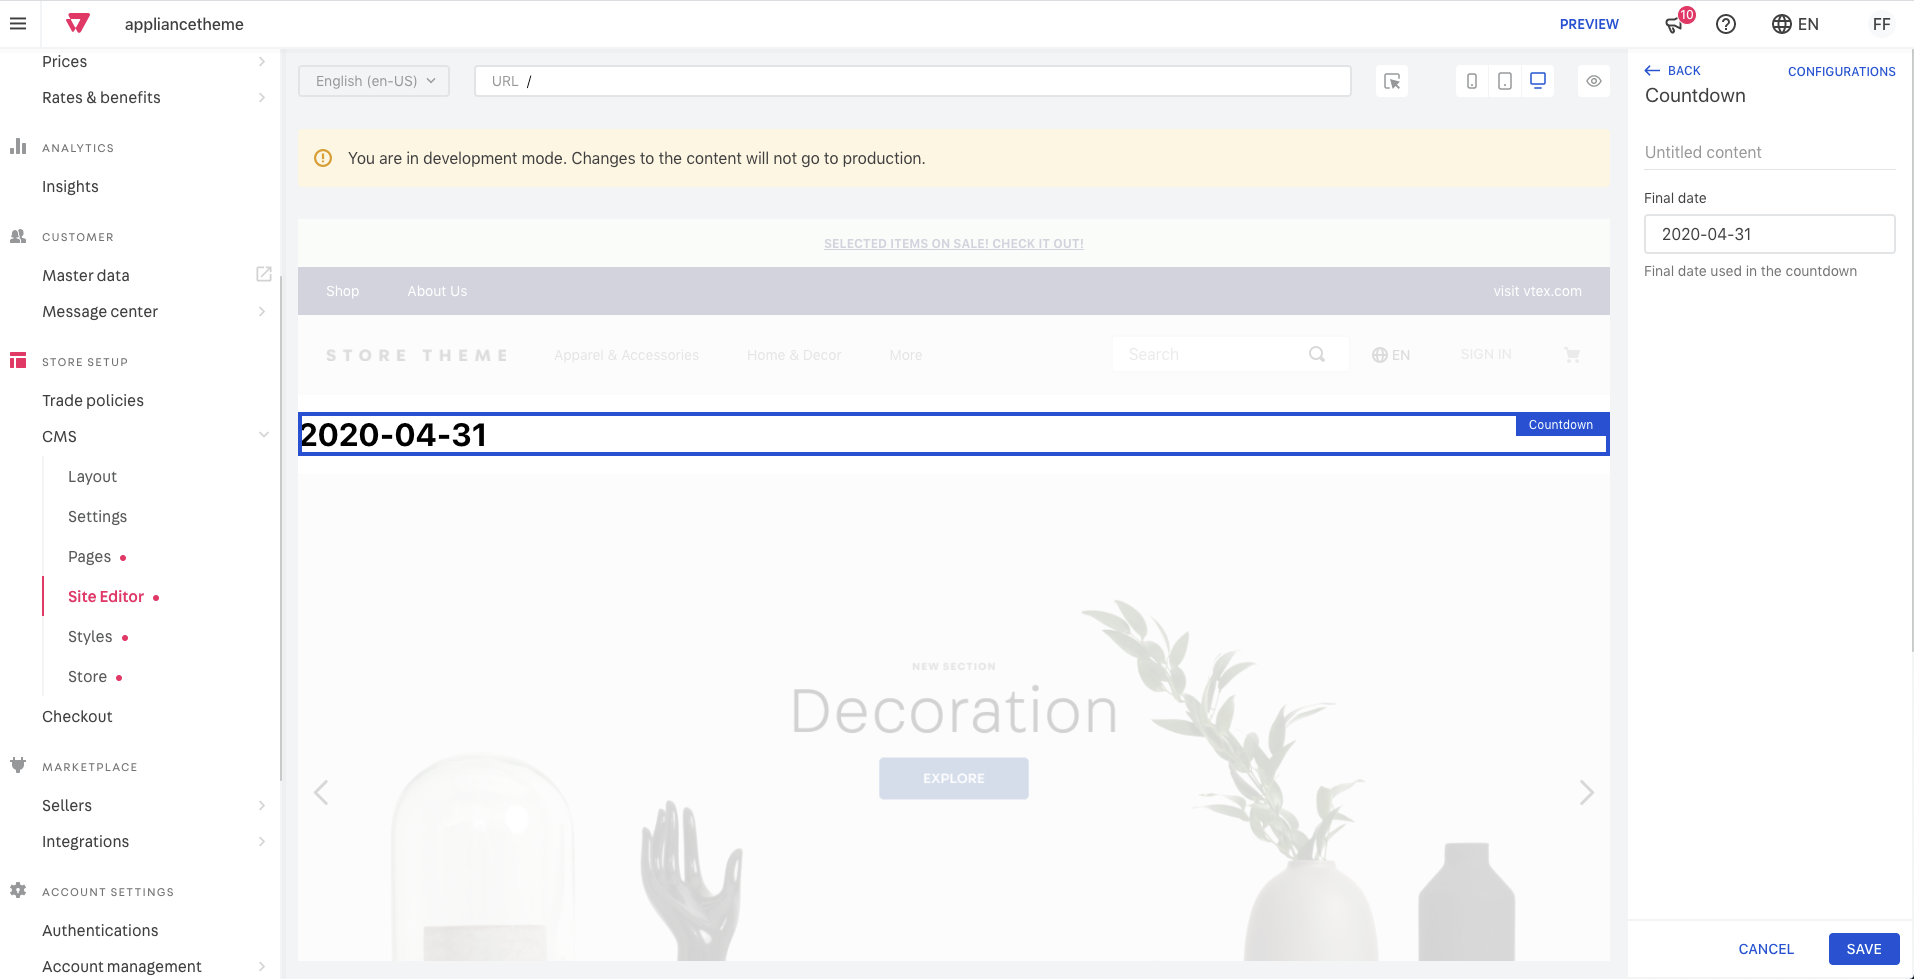
Go ahead to the Site Editor and click on Countdown on the side menu, this will open an edit menu, like the shown below:
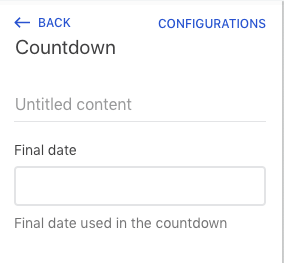
Now, in the field below the title, type the date in the format AAAA-MM-DD and see the change, that will then show the text you've typed!